

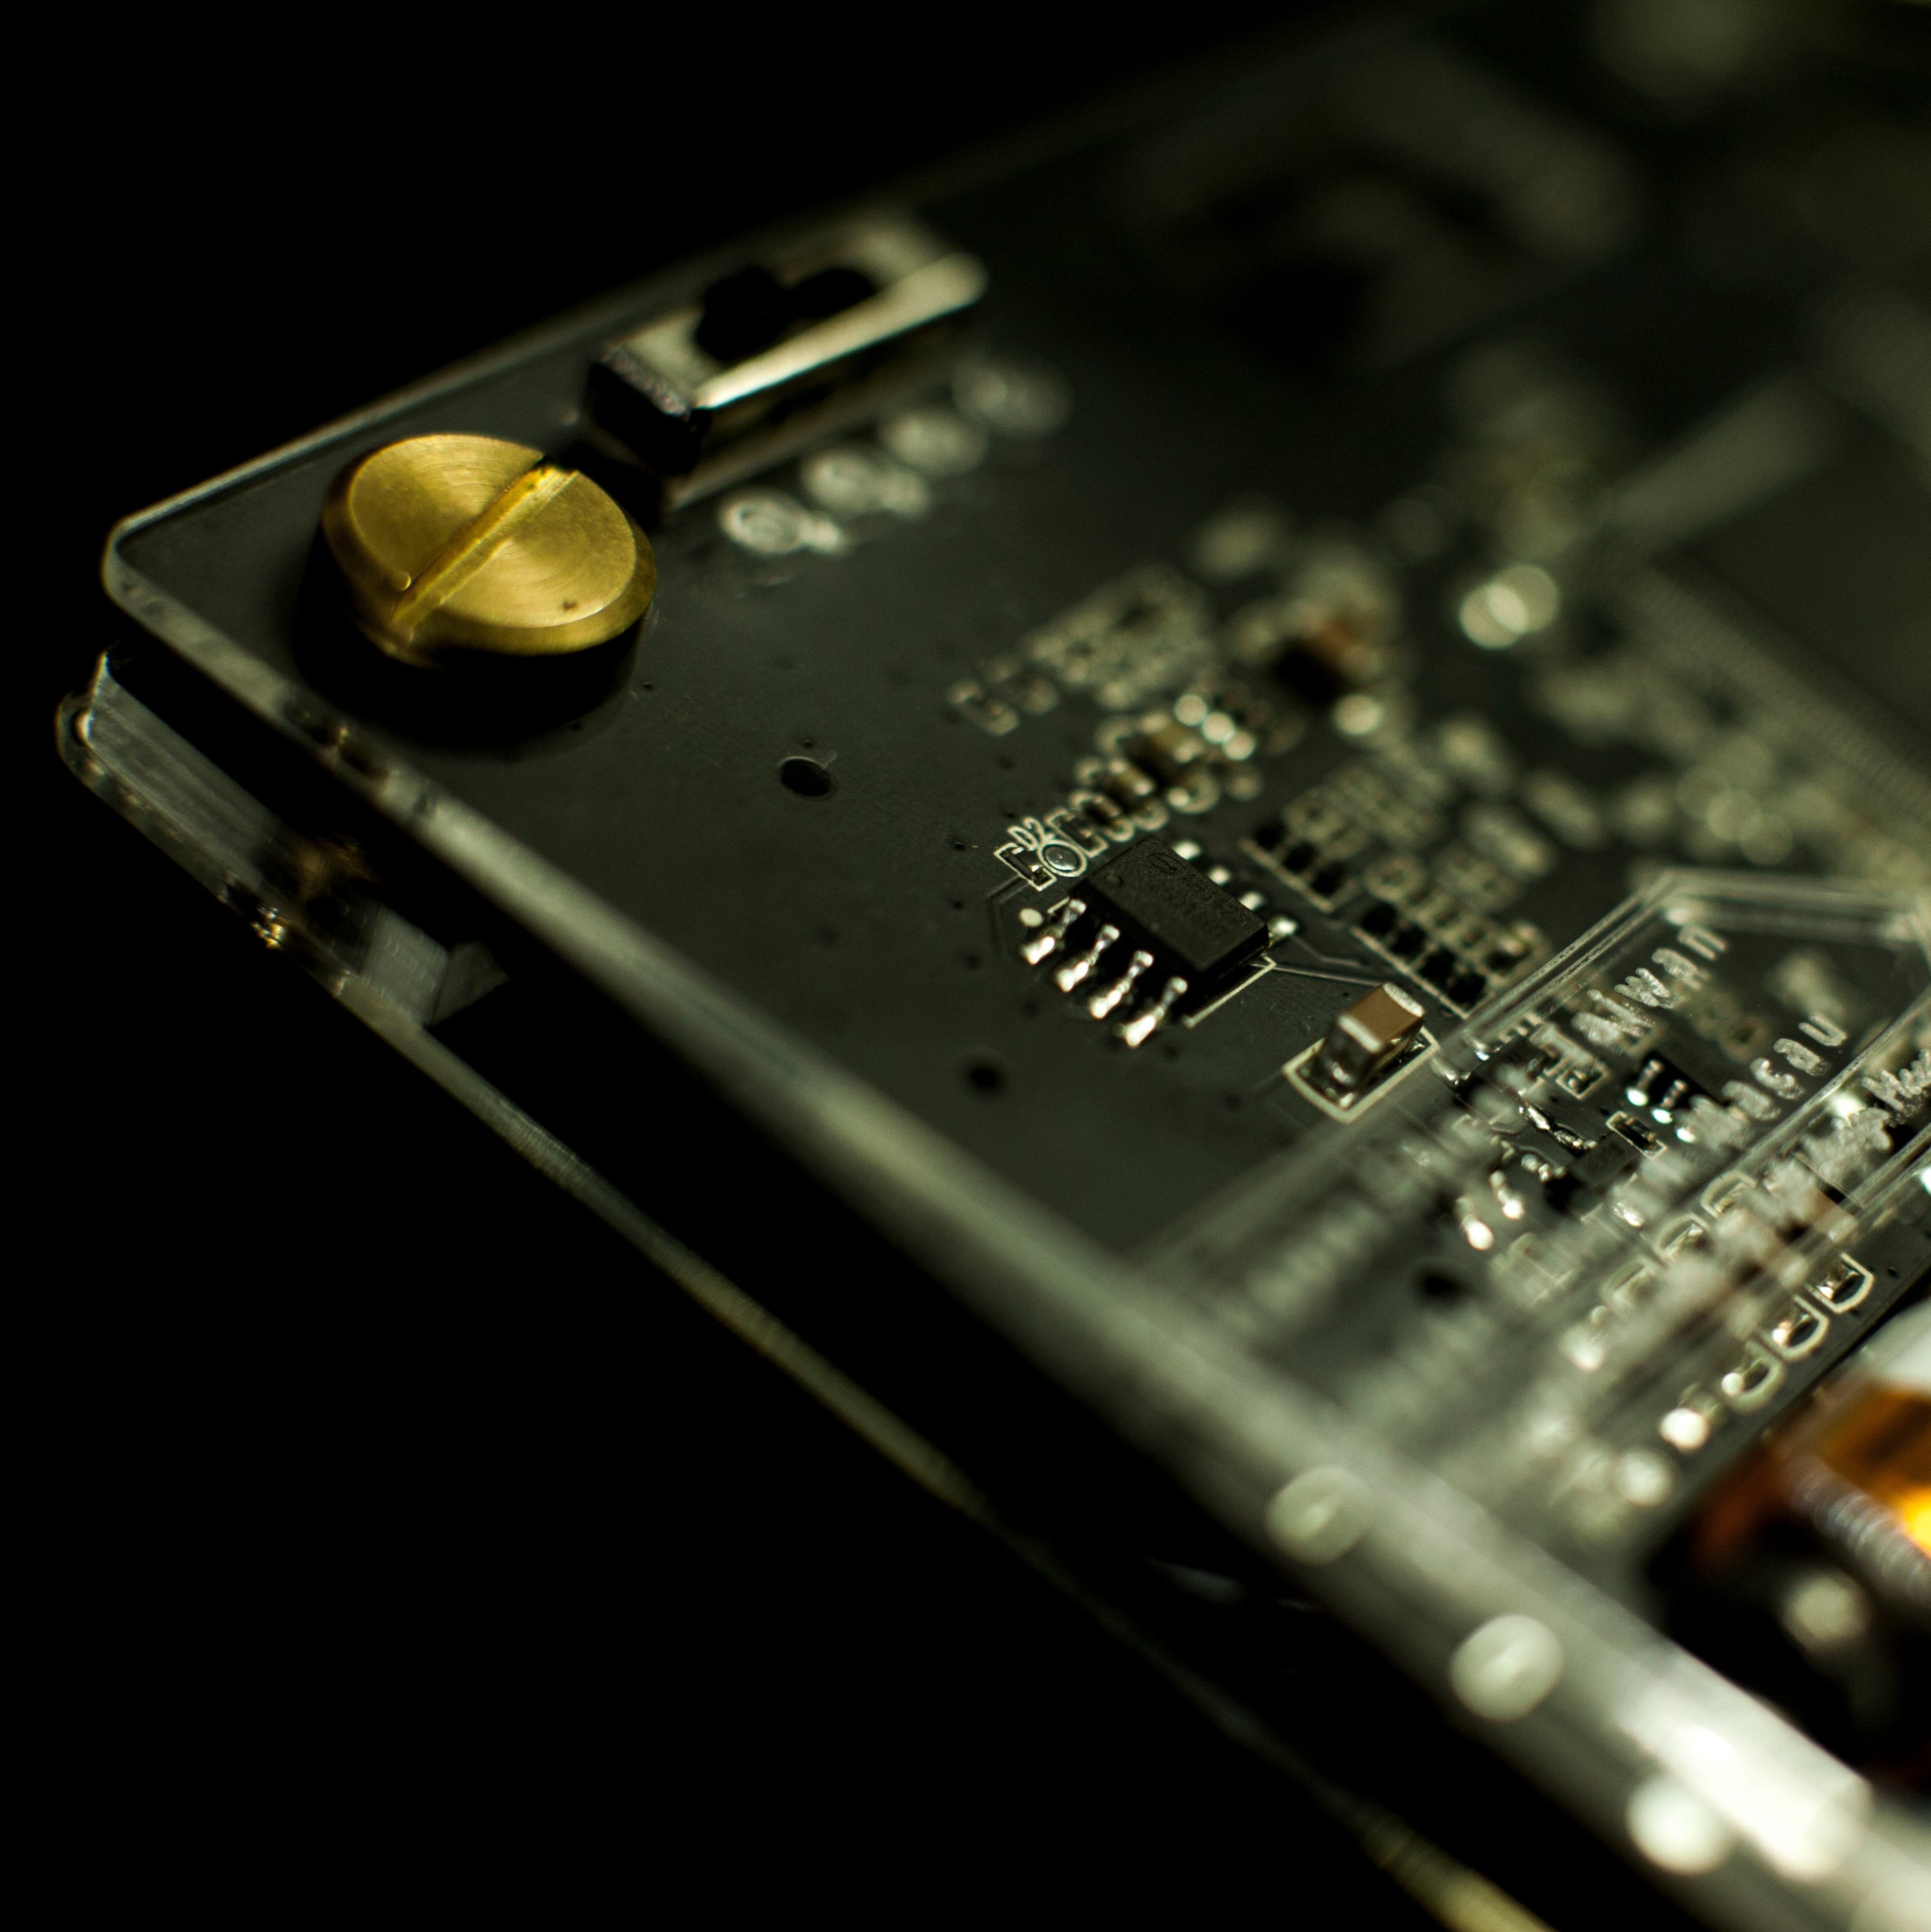
Camera Board Components Breakdown

Standard SD Card Socket
Please insert the microSD card into the Standard card first before inserting it into the device.
16MP+ models only.
18mp+ models only
Filter Mode
- Original Color
- B&W Color
- Sepia Color
- Blue Color
- R Led : Battery indicator
- L Led : Memory Card indicator
📄 Need a Manual?
Visit our Manual Download page, scroll to your model, and click the language file you want — it’s that easy!
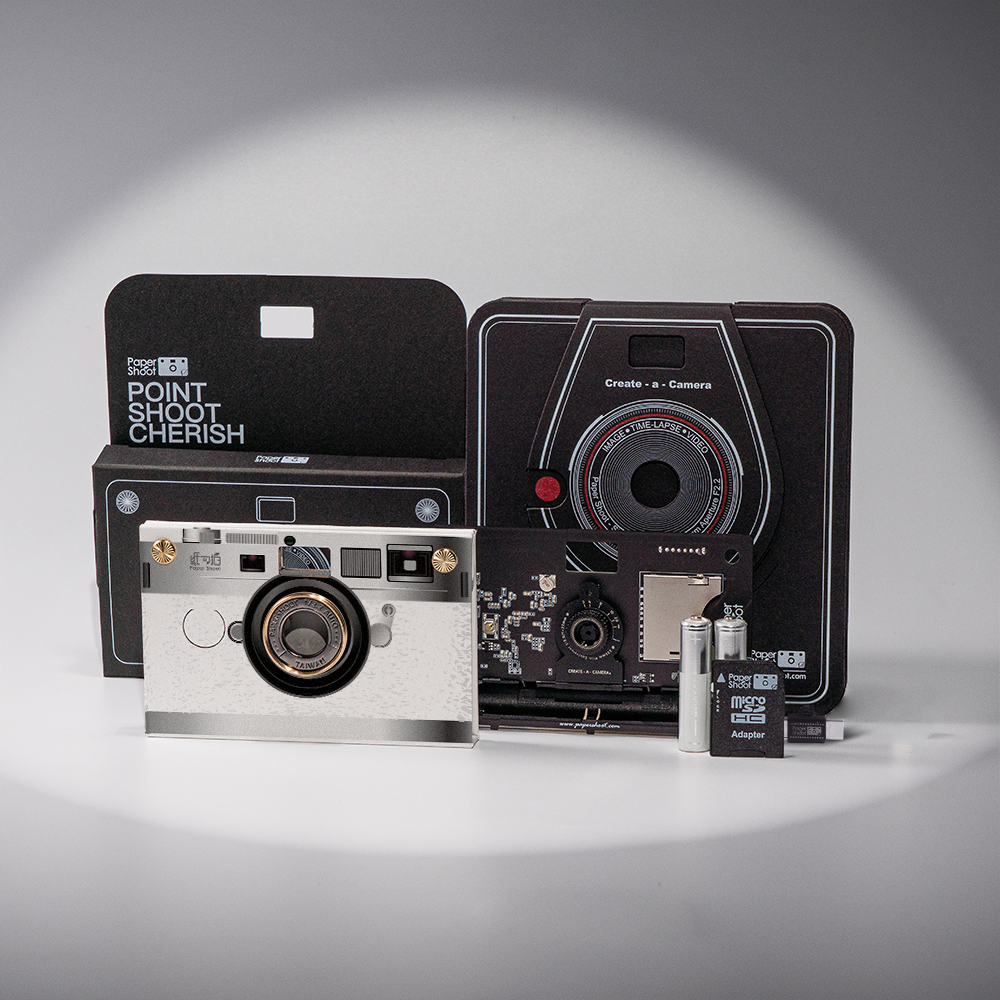
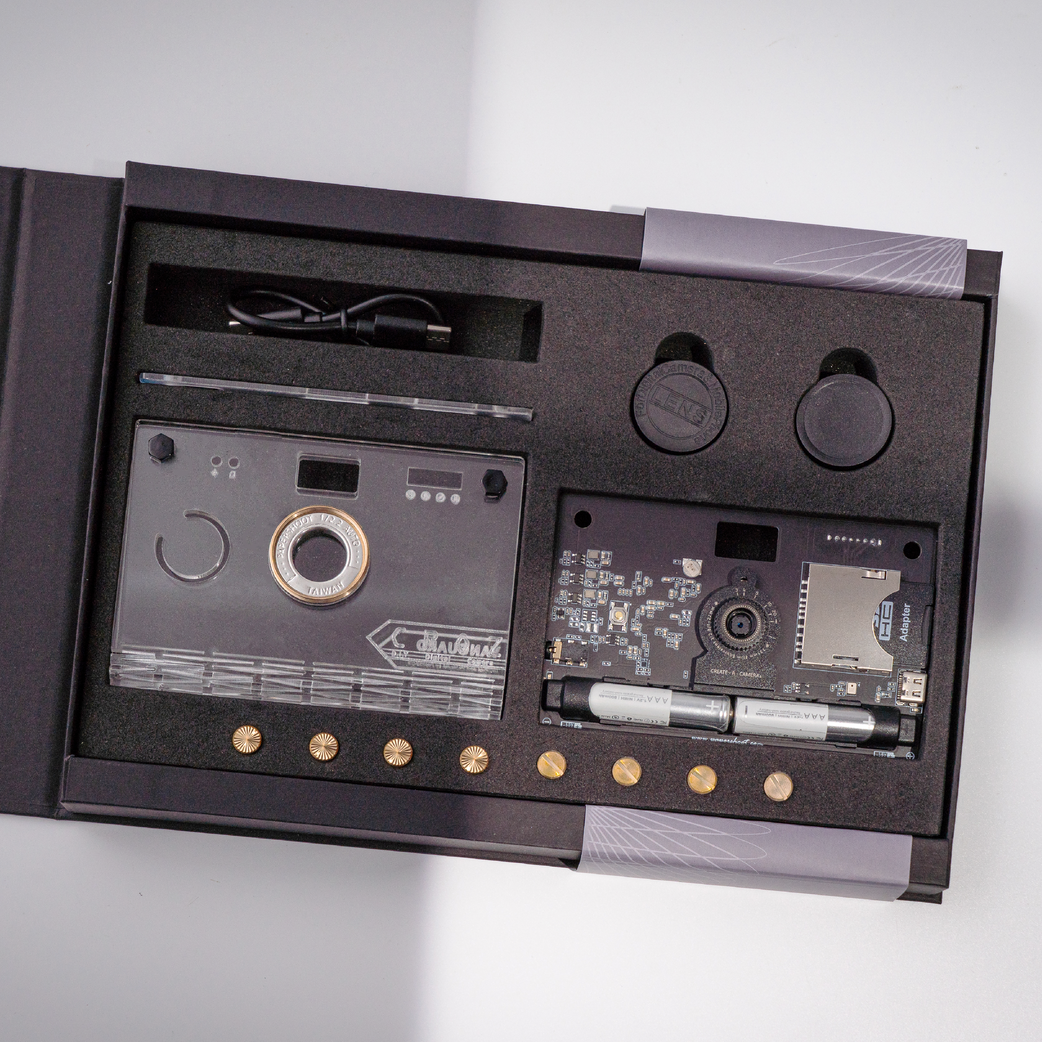
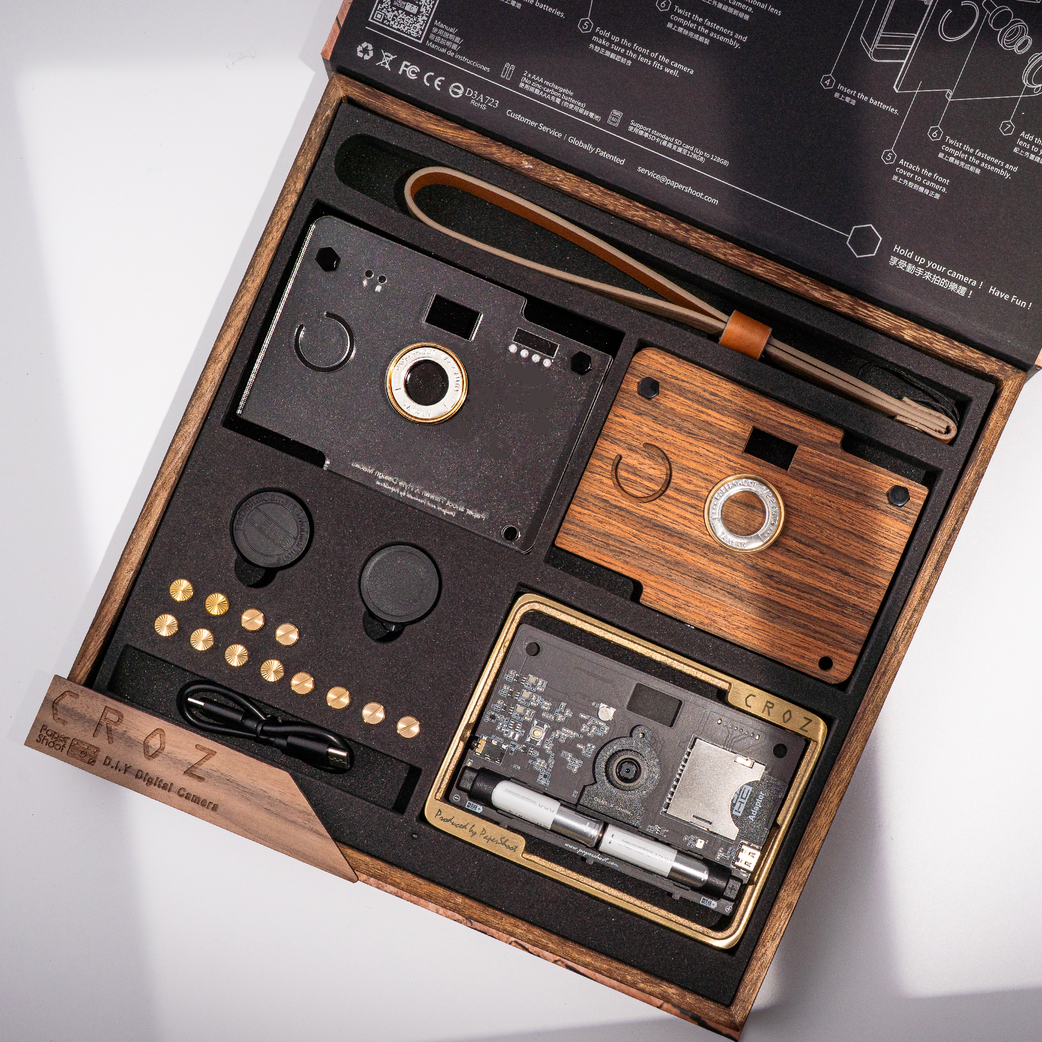
✋ How to assemble your Paper Shoot camera
Paper Shoot cameras are designed for easy assembly.
Follow the quick video guide below to put yours together in just a few steps.


🛠️ Quick Check and Fix
Because Paper Shoot camera doesn’t have a screen, it uses lights and indicators to let you know what’s going on.
🪫 Battery Check First! It Solves 99% of Issues
If the right LED is blinking quickly and your camera won’t take photos - even if you hear a shutter sound—it usually means your battery is too low.🎥
Remove Any Protective Film on the Batteries
Some new rechargeable batteries come with a thin plastic film or sticker on the contacts.
Be sure to peel this off before inserting the batteries into your camera, or it might block power from flowing.
Recharge Your Batteries Inside the Camera
Plug a Type-C cable directly into your Paper Shoot camera (not a laptop!) and charge for at least 3 hours.
✅ You’ll see a green light next to the Type-C port while it’s charging.
Swap in Fully Charged Batteries
Replace the current pair with NiMH rechargeable AAA batteries (1.2V, 800mAh or higher).
❌ Avoid Regular or Heavy Duty battery- they won’t give enough power and may cause issues.
❌💾 SD Card Check! Don’t Let Storage Stop the Shot!
If the left LED is blinking quickly and your camera isn’t saving photos, it could be an SD card issue.
Check the Lock & Space
Make sure your SD card isn’t locked (slide switch on the side).
Format Matters!
Windows: Format as exFAT
Mac: Format as MS-DOS (FAT)
(Just remember to back up your photos first!)
Insert It Right
Using a microSD?
Pop it into an adapter before inserting into the camera.
Double-check it’s pushed all the way in.
Still Not Working? Power Up
Try plugging in a power bank and take a test shot. Because low battery can also mess with SD card saving.
Other issue?
How to turn on/off my Paper Shoot camera?
There’s no need to worry about powering it on or off. Just one point : press the shutter, and you're good to go! The camera automatically turns on, takes the photo, and then switches itself off—all seamless and hassle-free.
My photos are blurry
Please ensure you remove the sticker that is placed on the camera lens.
If you are using the Micro/Macro lens and your photos are blurry, this is because this lens is meant for close-up shots only a couple inches away from the subject. If you take pictures from further away, it will be blurry and out of focus.
Why Isn’t My Vanguard Case Crystal Clear?
No worries—it's just the protective layer!
Be sure to peel off the clear protective layer from both sides of the acrylic panels before assembling your camera.
This thin layer keeps the case safe from scratches during shipping, but it can make the case look cloudy or dull if left on.
Once it's off, your Vanguard will look beautifully clear and ready to shine!
I can't access my photos on my SD card
Format the SD card before using it: WINDOWS – FAT32 / MAC OS – exFAT
Check Before Use: Confirm that the Micro SD Card is inserted into the adapter and is unlock.
Format the SD by Mac with the following setting:
- 1.Click Disk Utility
- 2.Select your SD card or hard drive, and press the "Erase" button.
- 3.Select the format MS-DOS (FAT32)
- 4.After confirming, press the "Erase" button.
Format the SD by Windows with the following setting:
- 1.Right-click on your memory card or hard drive.
- 2.Select the FAT32 or exFAT (Default) format.
- 3.Press OK to erase all data on the SD card.
Replace the batteries with new ones.
When using rechargeable batteries, just connect the camera to a USB plug / Power bank with the USB cable to charge. The green LED on the side will light up during the charging, and will go off after the charging is complete.
The camera lights up, but doesn’t make the shutter noise.
Your batteries are not providing enough power. Please charge or use a new set of rechargeable batteries.
Wrong timestamp on my photos?
If your camera is showing the wrong time or date on your photos — don’t worry, it’s easy to fix! Just follow the steps below to set the correct time for your camera.
⚠️ Note: This feature is only supported on 18MP and 20MP camera models.
Please follow the instructions based on your computer’s operating system:
No worries — we’re not giving up on you! ✨
Still Stuck?

Film your video for us
Sometimes it’s not just the camera — things like your charging setup, power bank, batteries, or even SD card brand can make a difference. Totally normal!
The video is intended to guide you on how to film a demonstration of your camera board operation. By following the steps 1-3 shown in the video and recording your camera board accordingly.
- Take off the outer case, remove the batteries, and take out any filter or function cards (if you’re using them).
- Plug the camera’s USB Type-C port into a power bank or a phone charging adapter.
- Switch the camera to the leftmost mode (1st position) and try taking a photo.
Please send us the footage to service@papershoot.com that allows our support team to thoroughly understand the root cause of the camera board malfunction.
Before contacting us, let’s give it one last shot—it just might work!
- Reinsert the batteries (while the camera is still plugged in), check that the green charging light comes on, and try taking a photo again.
- If it works, go ahead and charge the batteries for at least 3 hours to ensure full power.
If it still doesn’t work, no worries — just reach out to us with the video. We’re happy to help!